Installing Debian from the minimal netinstall image is very easy indeed. The ISO image is available at this link.
http://cdimage.debian.org/debian-cd/8.5.0/amd64/iso-cd/debian-8.5.0-amd64-netinst.iso.
This version of the netinstall ISO contains extra firmware if this is required.
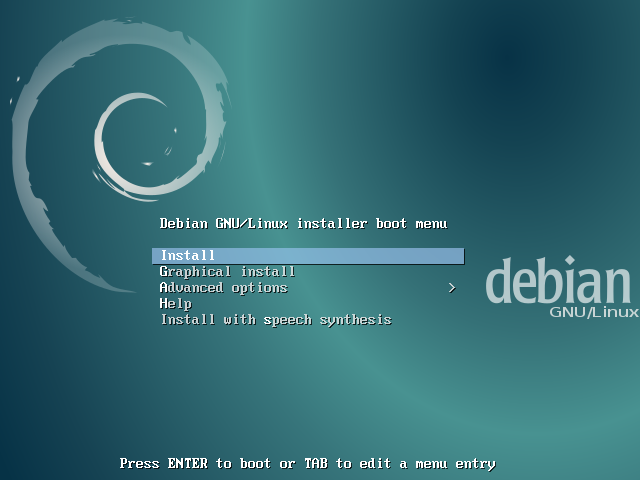
Now we can begin installation of the Debian distribution.
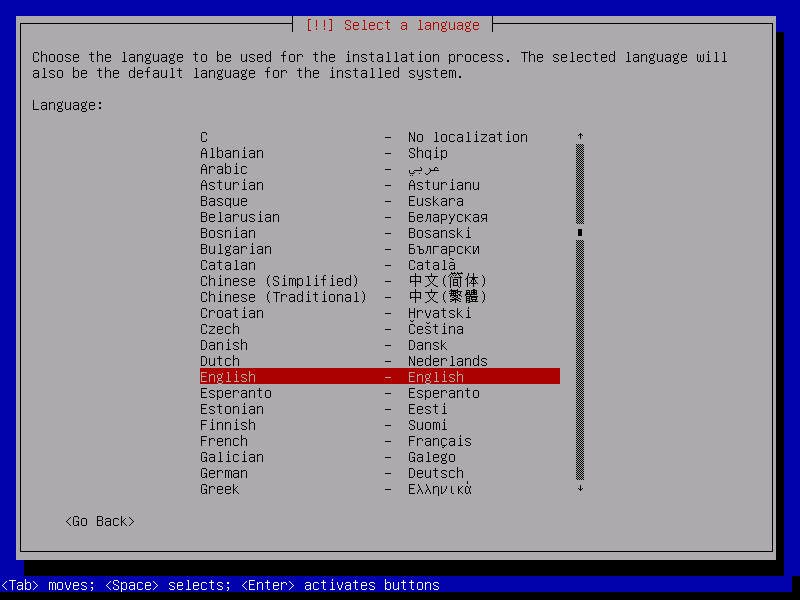
Choose the language for the installation.
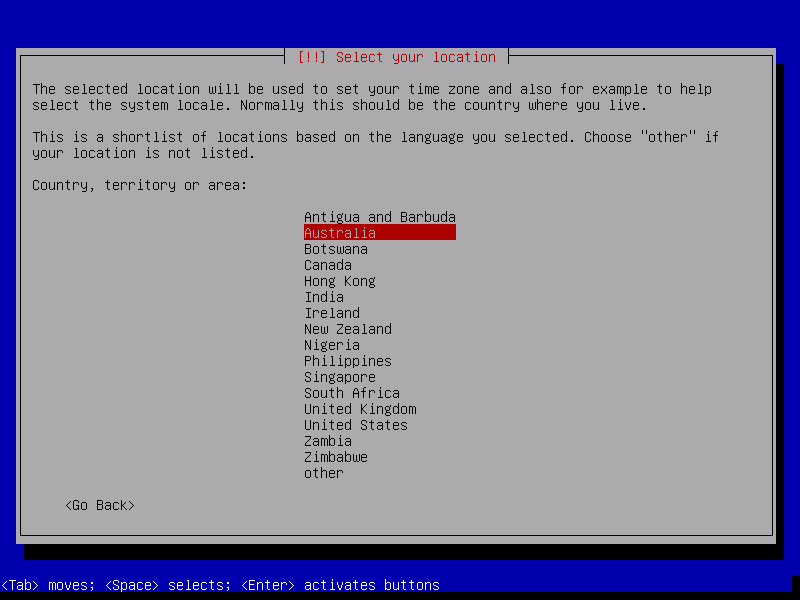
Now select the country where you are located.
Now select the preferred language for installation.
A hostname is needed for the Debian system. Use anything you like here.
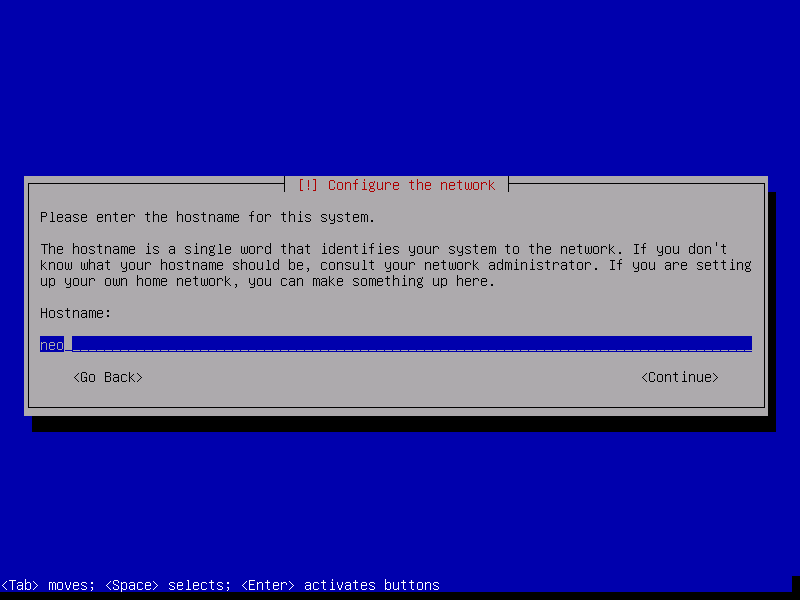
Do not worry about a domain name for our purposes.
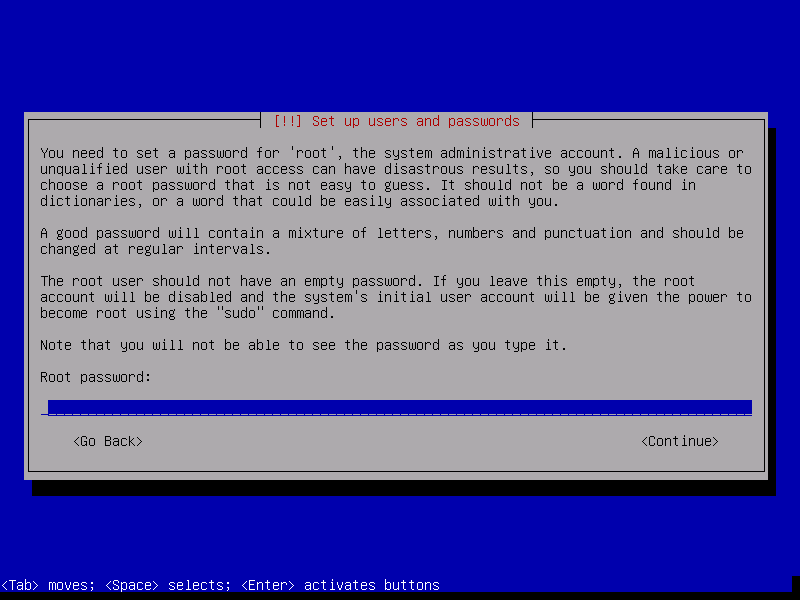
Now set a password for the root user on the Debian system.
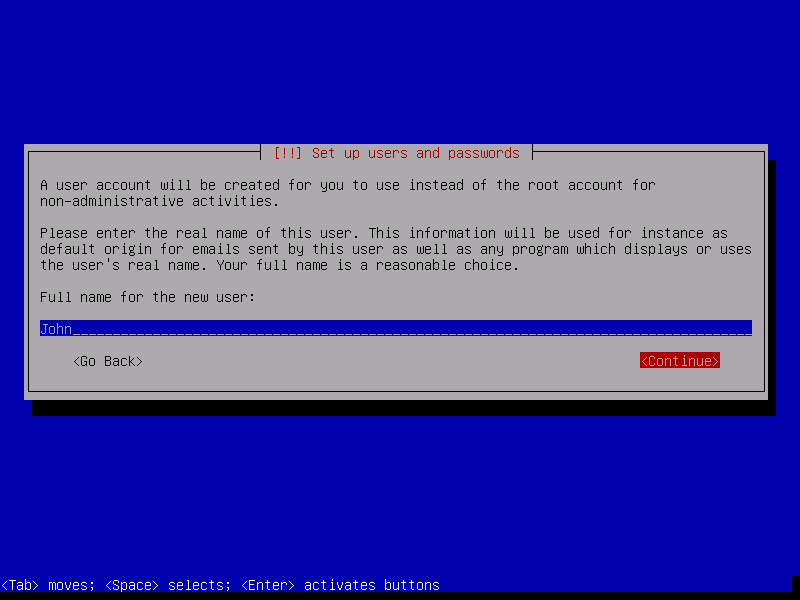
Now set a name for the user that will be used for day to day usage on your Debian system.
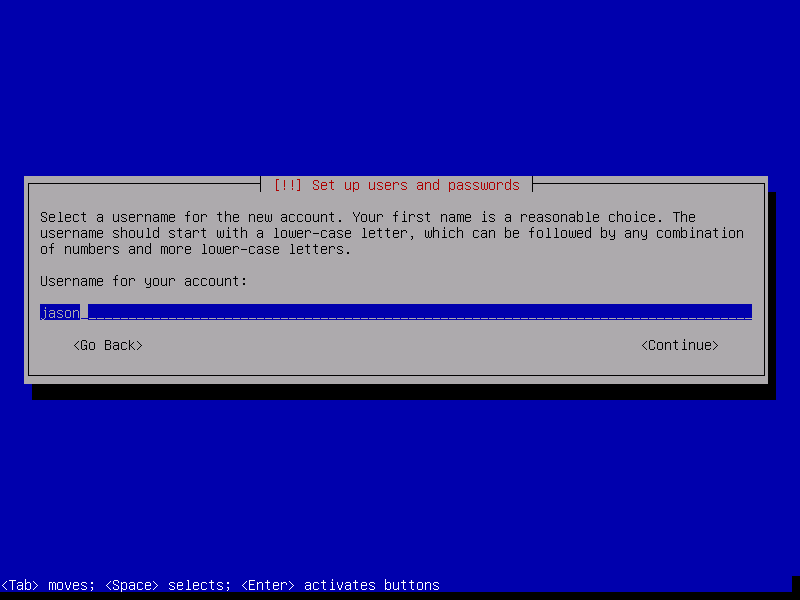
And set a username on the next screen.
Now set a password for the user.

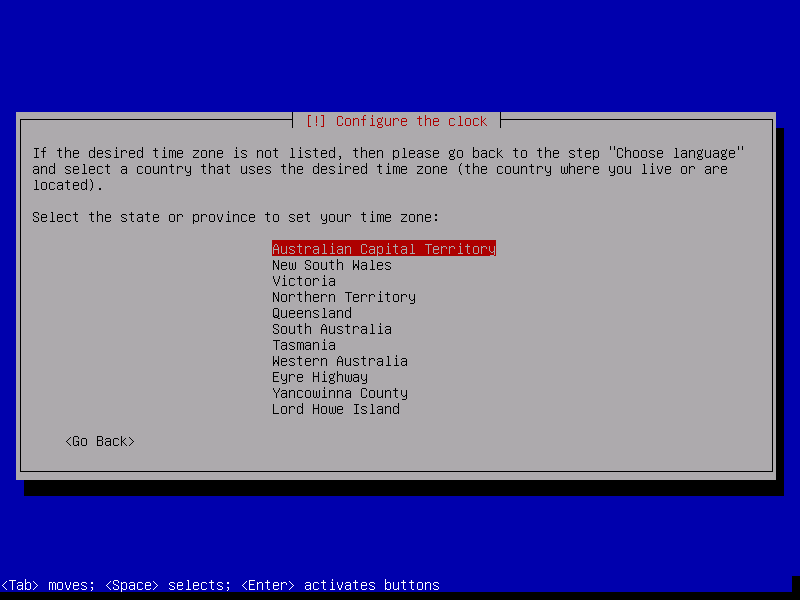
After this, select the timezone where you are located.
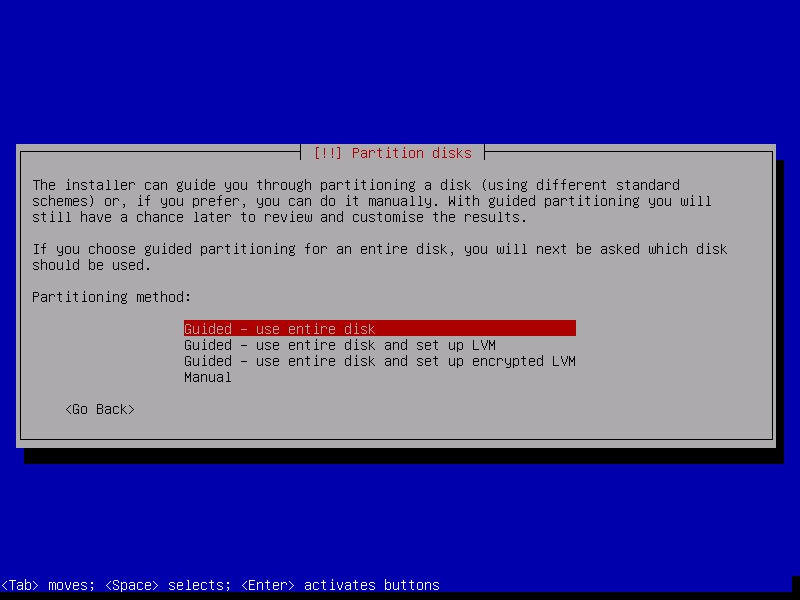
We are now up to the partitioning screen. Select the Guided – use entire disk option.
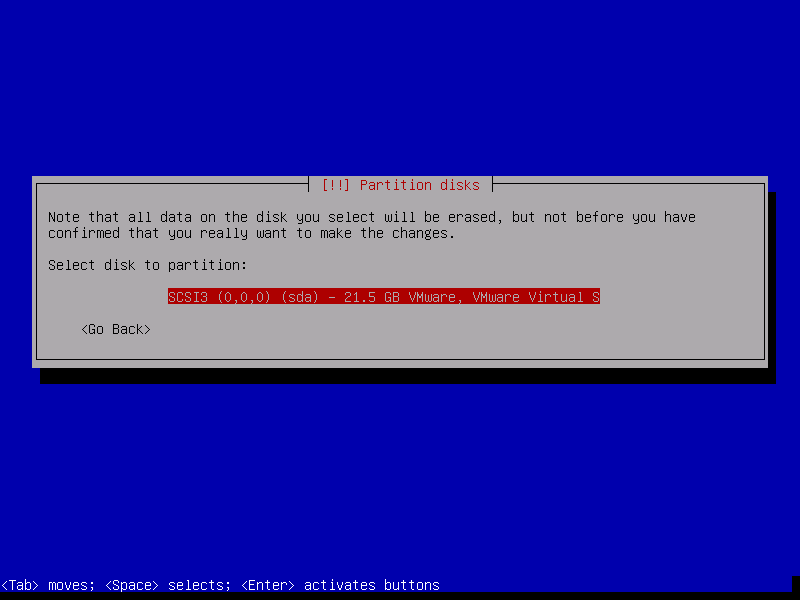
Now the user will be prompted to select the disk to partition. I only have one option so here we go.
How do we want the drive partitioned? Having the /home partition separate means that reinstallation can be achieved without wiping user data, but I will just put everything under the root partition as I just want a simple installation.

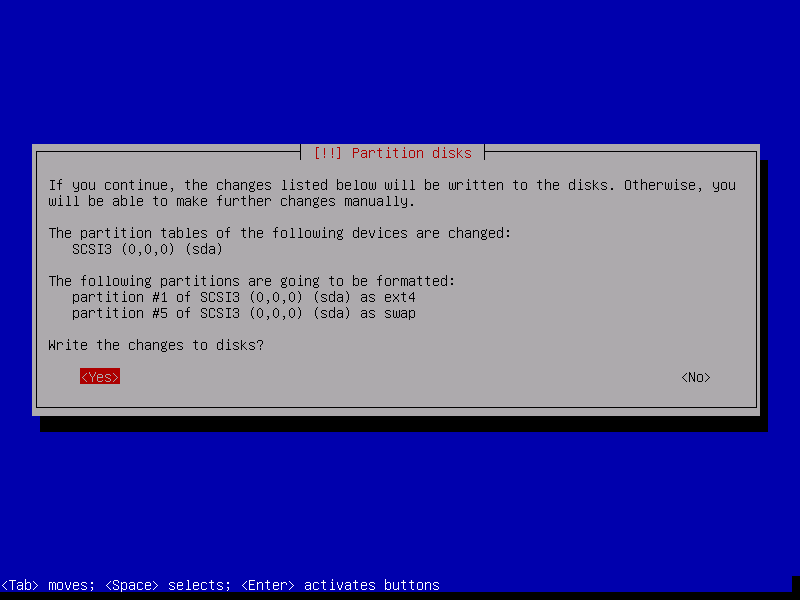
Now review the partitioning options before committing them. This is the last chance to ensure the partitioning options are correct.
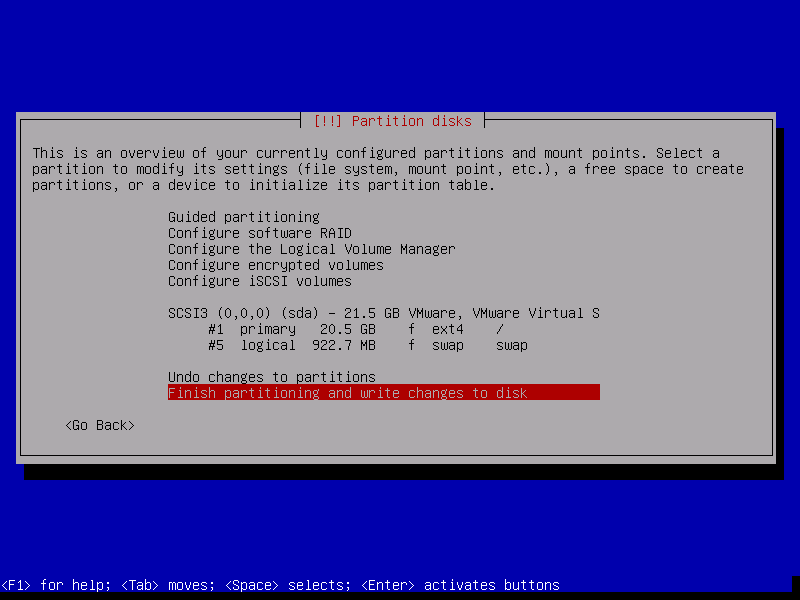
Last chance to review partitioning options before committing.
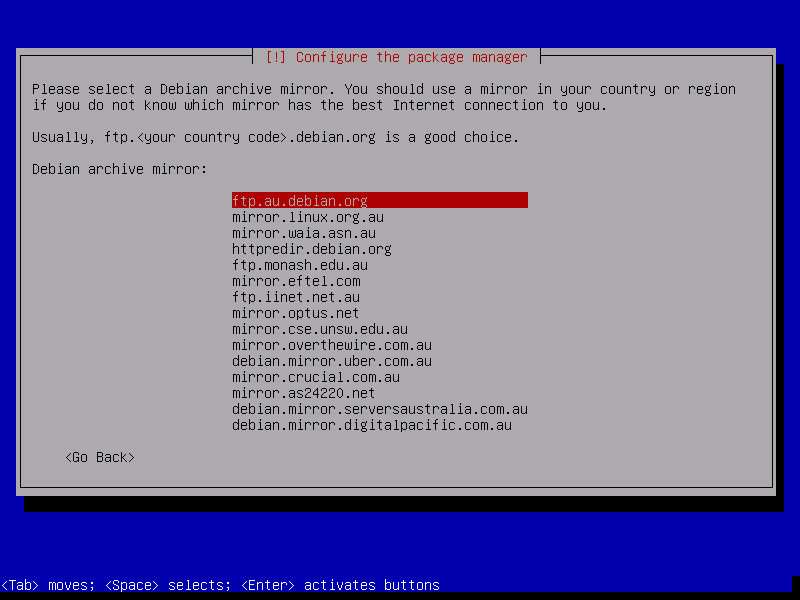
Select the appropriate apt mirror for your location.

Now select an appropriate server to retrieve deb packages from.
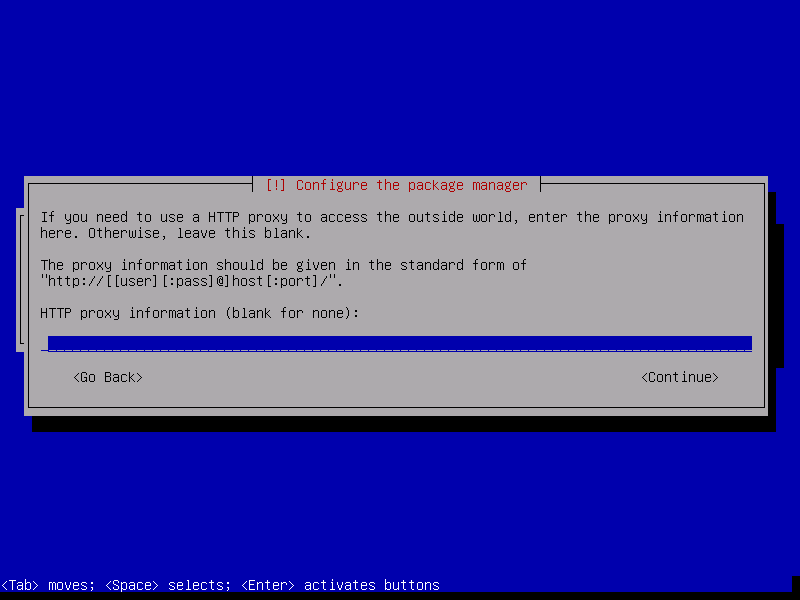
Set a HTTP proxy if required. This is required if you are using a work or academic network connection.
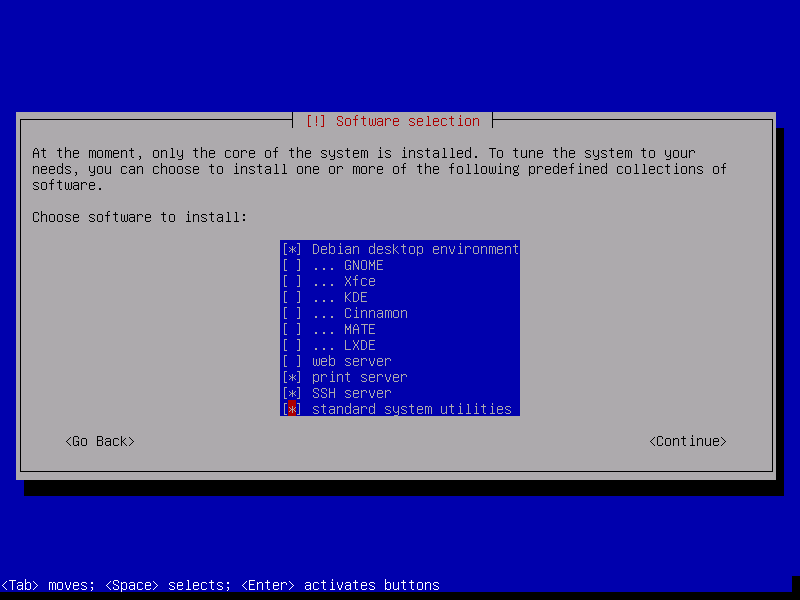
The installation will ask you which packages you wish to install to setup your new system. I do not need any extra desktop environments, so I will just go with the default Gnome desktop, a SSH server, and basic system utilities.
Now the installation will begin. Just sit back and wait whilst the packages are retrieved from the Internet and installed into your new Debian 8 system.
The final step is to install the GNU GRUB bootloader to the Master Boot Record of the hard disk drive.
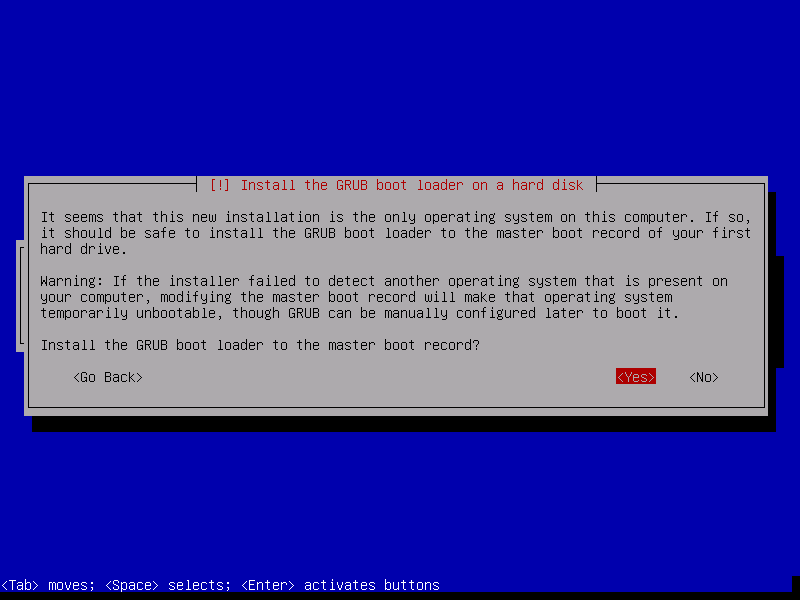
Select the appropriate device to install the bootloader to. In my case it is /dev/sda1.

Now we are done! Select Continue and press ENTER on the next screen and the Linux distribution will be installed. This is the result of our efforts. A fully working Debian GNU/Linux installation. This is very cool indeed. The default Debian desktop is the Gnome Shell desktop. Now we may open a terminal, switch to the root user and update the package repositories and install any pending updates.
~# apt update && apt upgrade |