Installing the Ubuntu Linux distribution.
it is very easy indeed with the modern Ubuntu installer.
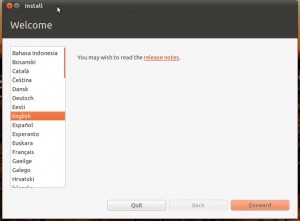
We have decided to install Ubuntu and now we are taking the plunge. Make sure your computer is connected to the Internet for the installer to work correctly. I tried this with the Internet disconnected and the Ubuntu installer did not install Grub2 and the system would not load Xorg. So make sure your WIFI or Ethernet connection is working so you do not get an Ubuntu installation that will not work properly. I am using the Ubuntu 11.10 alpha x64 CD image for this installation. It says it is 11.04, but I assure you it is 11.10.
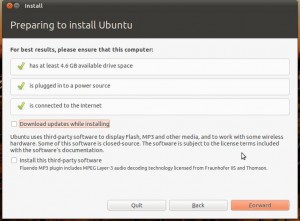
On this screen we can see the pre-installation checklist and two check-boxes below that allow us to choose whether to install updates and/or the multimedia codecs that you will need for MP3 and Xvid & DVD playback. it is a good idea to check these boxes even though installation will take a bit longer.
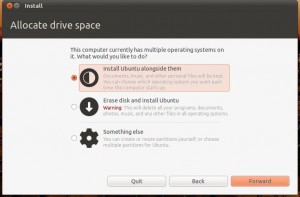
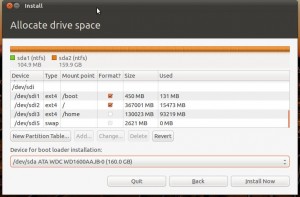
This next screen shows a menu that allows us to choose a partitioning strategy for the installation of Ubuntu. if you have a single blank hard disk, then you can just auto-partition the drive and everything will work perfectly, but I have two other operating systems installed so I had to do the partition selection manually due to having another Linux installation on 3 partitions I no longer wanted, so I just selected those partitions after clicking the Something Else option and then in the screen below you can see what I have chosen. if you have a Windows partition that is taking up all your disk space, then you can re-size that partition and make room for Ubuntu.
Separate partitions for /boot, / and /home make life easier when you need to re-install Ubuntu as you re-install the operating system, reformatting /boot and / but /home is untouched meaning all of your documents are preserved. I have always done my Linux installations this way if possible.
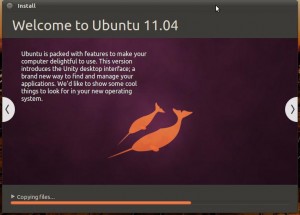
After clicking Install now, we get this screen and now it is time to get a coffee or take a short walk whilst Ubuntu is installed. You may continue to use Ubuntu while the installation is in progress and after the installation is finished, as I am writing this page, but once it has finished you can either type sudo init 6 in a terminal to re-boot or click the power icon and re-boot the computer and enjoy your shiny new Ubuntu desktop operating system! If you did not choose to install updates and codecs during installation, then you may install them now by typing sudo apt-get update && sudo apt-get upgrade. To install support for flash and MP3 playback type: sudo apt-get install ubuntu-restricted-extras and the extra packages will be installed adding support for MP3 playback and Xvid support for the Totem media player. It is that simple.
Hi,I’ve been distro snippohg for a few weeks now and I must say, I really like what you’ve put together. I’ve been looking for a good, current distro that will let me keep my wobbly windows and rotating cube yet, be easy to navigate.Everything just works from the headset and webcam to the applications including LibreOffice. I also reallly like the way you’ve set up the dock. It’s easy to configure and position the way I want it to be, and it’s out of the way after I’ve selected the application I want to run.Thank you.Scott