How to install the SOG DLC on a Linux server
To get the Arma 3 SOG DLC running on a dedicated Linux server, firstly you need to install the Creator DLC branch.
Load up steamcmd and then run this command.
Steam> app_update 233780 -beta creatordlc " validate +quit |
This will install the branch that contains the required CDLC.
Then, in the server.cfg file, add this to the class Missions section.
class Missions { class mission1 { template = "vn_coop_01.cam_lao_nam"; difficulty = "sog_regular"; }; class mission2 { template = "vn_coop_02.cam_lao_nam"; difficulty = "sog_regular"; }; class mission3 { template = "vn_coop_03.cam_lao_nam"; difficulty = "sog_regular"; }; class mission4 { template = "vn_coop_04.cam_lao_nam"; difficulty = "sog_regular"; }; class mission5 { template = "vn_coop_05.cam_lao_nam"; difficulty = "sog_regular"; }; class mission6 { template = "vn_coop_06.cam_lao_nam"; difficulty = "sog_regular"; }; }; |
This will enable a mission playlist, when one mission finishes, another one will start up.
Then start the server like this.
jason@jason-Lenovo-H50-55:~/.steam/steamcmd$ nohup ./arma3server_x64 -name=Gunslinger -mod=vn -autoInit -config=server.cfg & |
Then press ENTER twice to be returned to the terminal. This will run the server in the background. The server log will be printed in the nohup.out file. The -autoInit parameter allows the server to load the mission automatically when it loads.
Set up the motd section of the server.cfg to print useful messages to the players.
// WELCOME MESSAGE ("message of the day") // It can be several lines, separated by comma // Empty messages "" will not be displayed at all but are only for increasing the interval motd[] = { "", "", "Welcome to Vietnam.", "", "", "Battle against Viet Cong..", "", "", "Look out for IEDs..", "", "", "Get a loadout and get into battle.", "", "", "Keep your ears open for enemy sign..", "", "", "Watch where you step...." }; motdInterval = 5; // Time interval (in seconds) between each message |
This is most useful on a server.
How to have streetlights on in the EDEN editor
To have streetlights on in the EDEN editor, use this in the debug console when a lamp is placed and selected.
get3DENSelected "object" select 0 enableSimulation true; |
Use this code to switch on simulation for all lamps placed in the editor.
{_x enablesimulation true} foreach ((all3DENEntities #0) select {_x iskindof "Lamps_base_F"}) |
This does work very well. And it does accurately show the radius and brightness of the light very well.
In the image below, I enabled simulation on a car and then dragged it into the hangar to blow it up. Pretty cool.
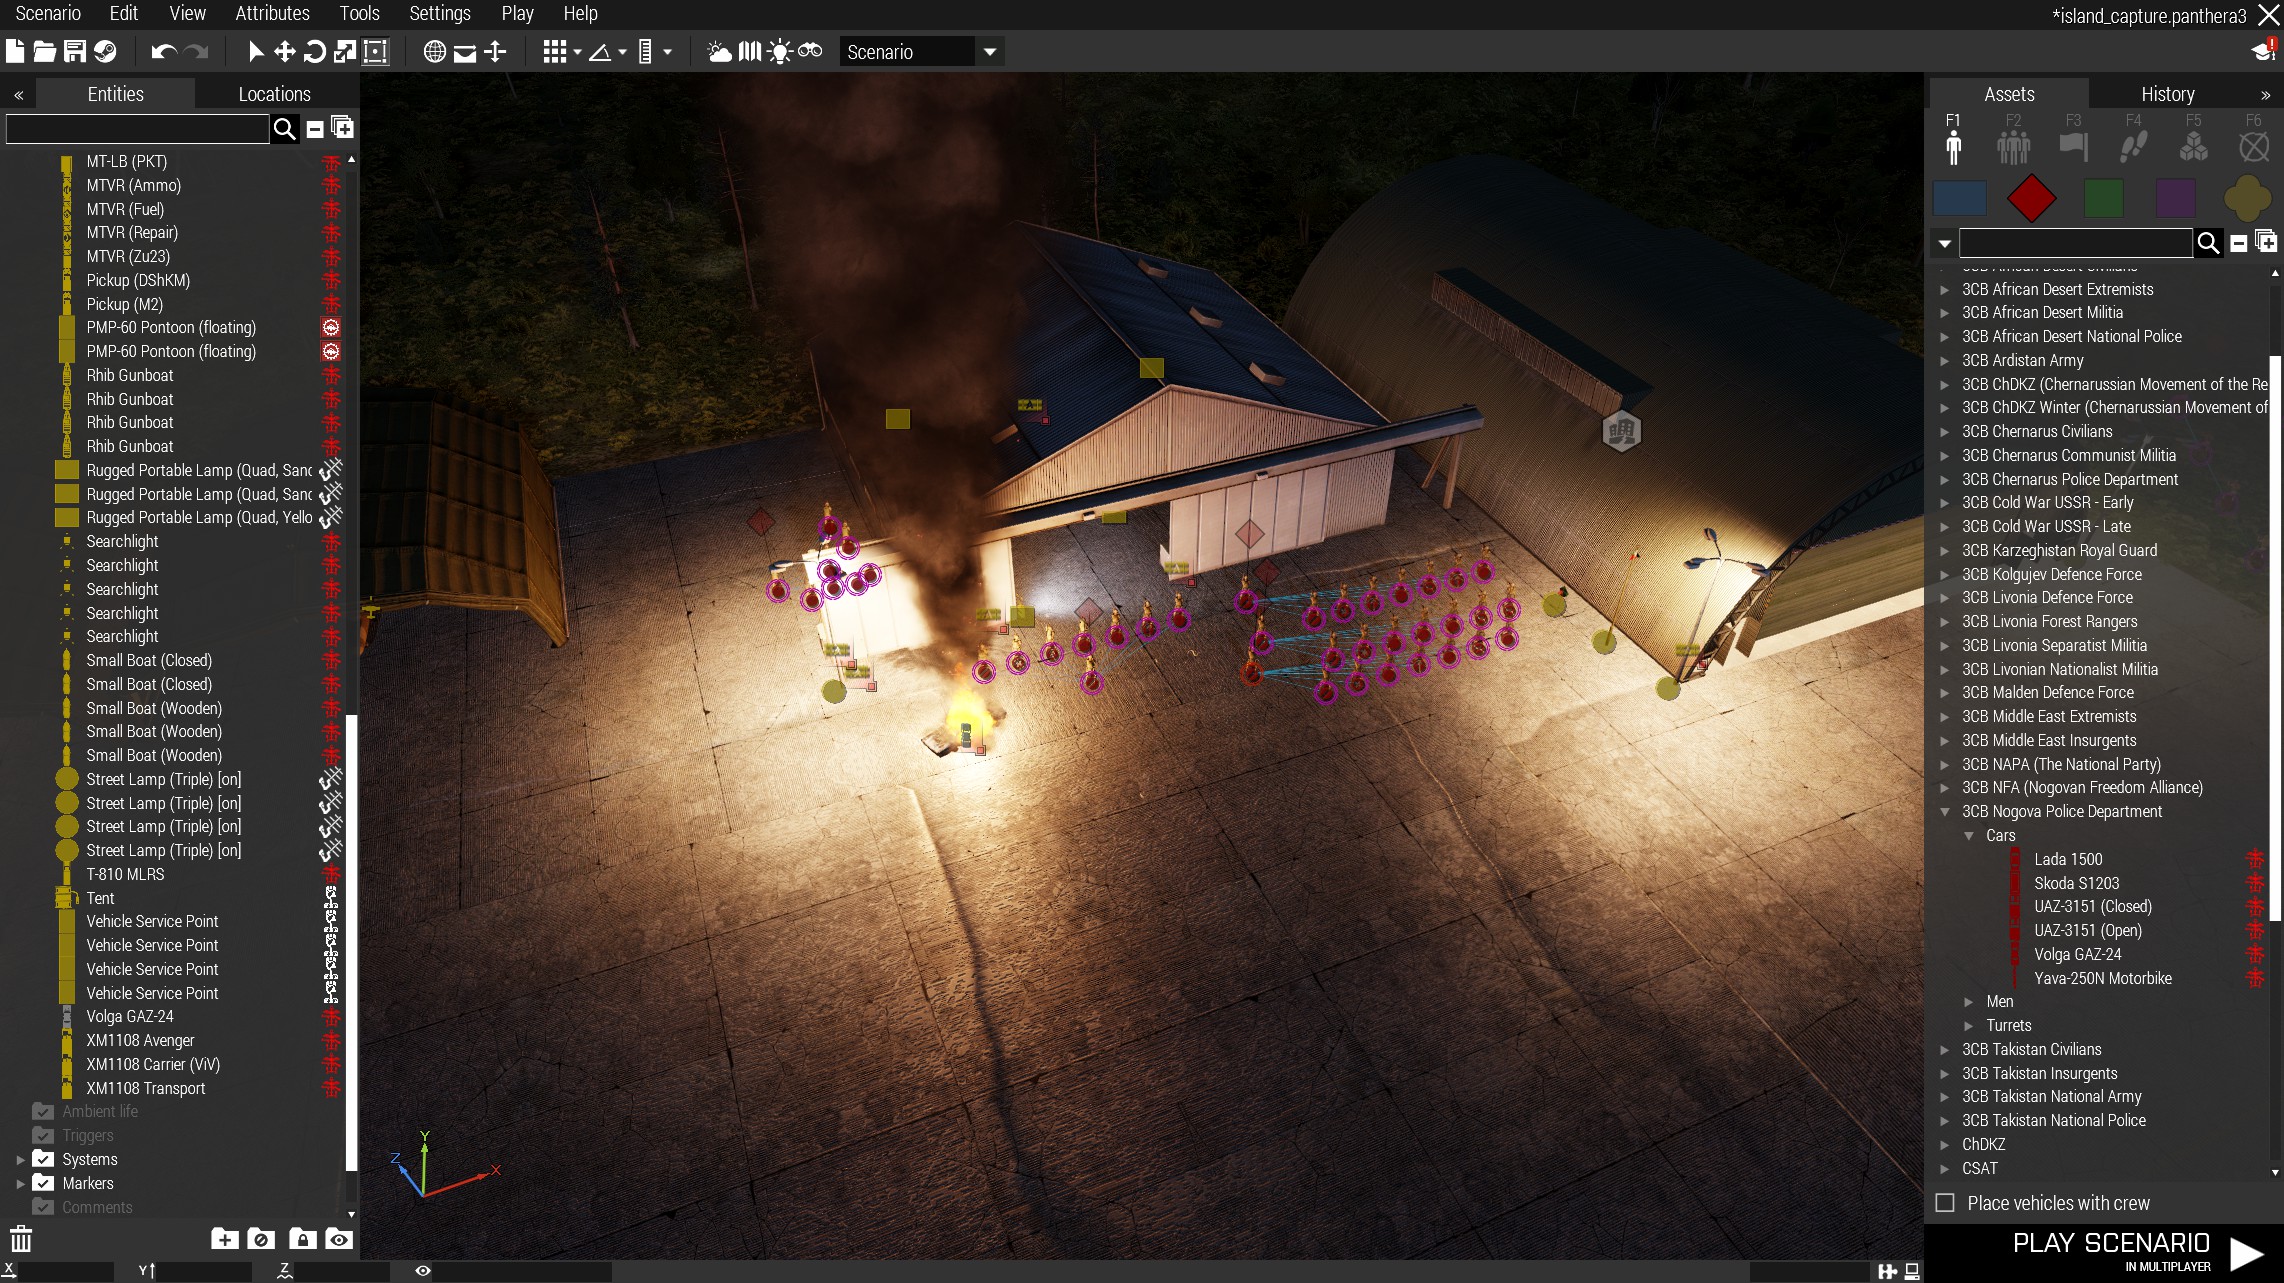
Using this on the long white searchlight beam object, “Reflector_Cone_01_Long_white_F” also works well. You can move it around and the light updates. If you delete a light, the light cast by it is not deleted, but this is fine.
Thank you for this useful article.